In Brazil, most families who can afford to have live in help who help with the cooking, cleaning, and taking care of the kids. More often than not, these employees become part of the family, and affectionate ties form. Picture the heart-warming moments in The Help sans racism.
My grandmother’s cook was called Celina. Sadly, she has now retired, but she has known me my whole life, and I consider her my ‘second grandmother’. Whenever we went back to Brazil on holiday, my sister and I would stay at my grandmother’s house. I remember going into Celina’s room after lunch to chat and play cards with her, even taking naps in her bed. She was an amazing cook. Lavish lunches, fruit preserves, baking; she did it all, following no recipes, which made it very hard for me to learn from her when I became interested in cooking. I have a few scribbled notes on scraps of paper which I wrote down as she told me how she made certain dishes, but her instructions were always very vague. “Add flour until it looks right” or “cook until you get the right consistency”. She was an intuitive and natural born cook, with years and years of practice.
Although my grandmother had help, she had a few ‘specialties’ which she insisted on making herself for her grandchildren. There were her Christmas cookies, her chocolate cake, brigadeiros for birthday parties, and these coconut candies.
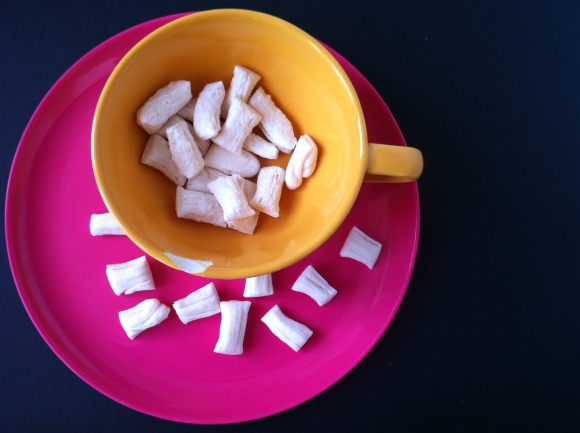
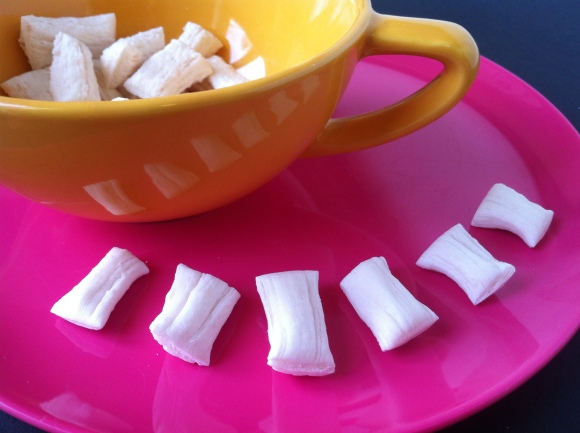
This is not her recipe, but I scoured the internet and found one that produced the exact sweets I remember. Now, this is complicated. The recipe in itself has very few ingredients, but there are a couple of critical points at which all can go wrong. I should have ended up with about 80 candies, but I only managed to get 25 as I messed up one of these steps. First, all ingredients are boiled together, like a caramel, to the hard crack stage (about 150°C, I got to use my candy thermometer for the first time which was very exciting). Then, the mixture is dumped out onto greaseproof paper and left to cool. Once it is cool enough to touch, the candy is ‘pulled’ to aerate it, which turns it from a beige colour to the white you can see in the pictures. This pulling part is the critical point, as the candy can suddenly crystalize, ending up in a powdery mess. This is what happened to most of mine. Before I got to pull it, it was already crystalizing. I did some research and suspect it may have been because: 1. I touched the edges too much, folding them in as they cooled and 2. The air in this country is too damn humid. So my suggestions are: as tempting as it may be, leave the mixture to cool for a while (but not until it goes so hard you can’t pull it, and not so early that you burn yourself, as I did) and well… don’t live in England.
Ingredients
200ml coconut cream
200ml water
1kg sugar
Line two large baking trays with greaseproof paper.
In a medium-sized pan, whisk the coconut cream, water and sugar together until well blended. Cook on medium heat until the mixture begins to bubble, reduce, and turn yellow in colour (about 15 minutes). Insert the thermometer and when the temperature reaches 150°C, remove from heat and immediately divide the mixture between the prepared pans.
Leave to cool (about 15 minutes). When the mixture is cool enough to touch, divide the dough in four and stretch by pulling each end away from each other with your hands. Fold over and repeat the stretching until the candy turns white and striated. Once this is achieved, use scissors to cut into 1cm candies. You will notice the candy gets harder as you stretch, so make sure you cut it while it’s still possible. Leave to dry overnight on greaseproof paper.
*Tips:
- Start pulling as soon as your hand can bear the heat.
- Don’t touch the mixture excessively as it cools, as this may cause it to crystallise.
- If the mixture crystallises, it can be saved! Grind down to a powder, return to pan with 200ml of water and repeat the process.
- Store in an airtight container. Keeps about a week.


